- Related articles
- Optical Transceivers for Cisco N9K-C9372PX-E Switch
- Apply to 100GBASE-LR4 Standard optical transceiver models
- All Cisco DWDM-X2-40.56's information (List price, Specs, Datasheet PDF, Compatibility mat
- All Cisco ONS-XC-10G-S1's information (Overview, List price, Specs, Datasheet PDF)
- Optical Transceivers for Cisco WS-C3750G-48TS-S Switch
- All Cisco DWDM-XFP-54.13's information (List price, Specs, Datasheet PDF, Compatibility ma
- Optical Transceivers for Cisco WS-C2960S-48FPD-L Switch
- Optical Transceivers for Cisco IE-3000-4TC Switch
- Optical Transceivers for Cisco WS-C3750V224FSS-RF Switch
- Optical Transceivers for Cisco SG550XG-48T-K9-UK Switch

1. Process of cabinet installation
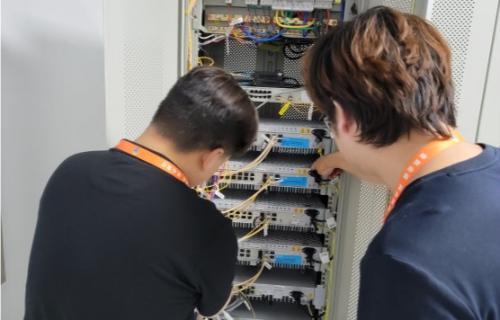
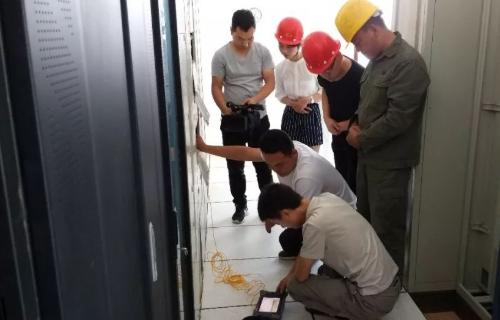
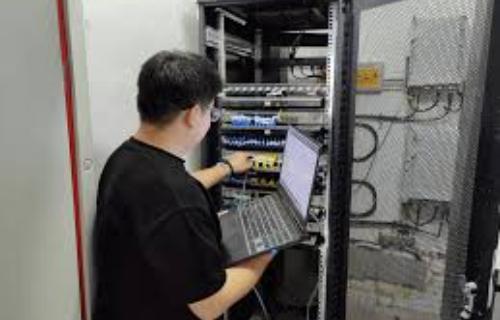
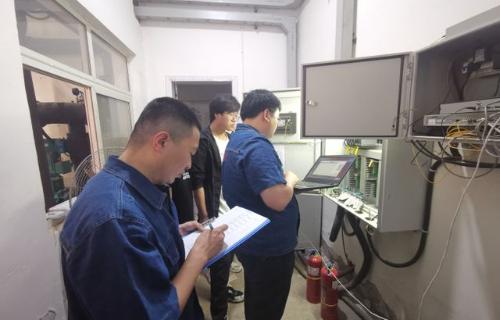
Cabinet installation process is divided into the following steps: cabinet installation plan, cabinet preparation before the installation, and cabinet commissioning.
In a variety of projects, the room facilities are required, and the cabinet is one of the main facilities, so the cabinet installation is particularly important. The following is the detailed introduction of the installation of the network cabinet: general cabinet size: high × width × depth = 1800mm × 600mm × 1000mm.
1) Cabinet installation plan
Before the installation of the cabinet, first, make a plan for space. In order to facilitate the heat radiation and protection of facilities, the distance between cabinets and walls or other facilities before and after should not be less than 0.8 meters, while the engine room’s clear height cannot be less than 2.5 meters.
2) Preparation before installation of the cabinet
Before installation, the venue should be correct without error, otherwise, it will cause rework. In accordance with the unpacking guide, dismantle the cabinet and cabinet accessories packaging wooden box.
3) Cabinet installation process
After the cabinet is fixed, you can directly install the cabinet accessories. Place the cabinet in a planned location, confirm the front and rear of the cabinet, and align the feet of the cabinet with the corresponding foot positioning mark.
4) Cabinet debugging
Place the leveling rod at the mutually perpendicular directions and simplest sides at the top of the cabinet to see the degree of level of the cabinet. Rotate the screw on the feet to debug the height of the cabinet so that the cabinet reaches the level. And then lock the anchor locknut of the cabinet so that the anchor locknut is snug against the bottom of the cabinet.
2. Precautions of cabinet installation
With the relevant dimensions of the cabinet, then check the appearance of the equipment to ensure and choose stent supporting facility. A rugged cabinet can weigh nearly 500g, so check out the tools used for the equipment.
Measure the size of the room and the height of the ceiling, door and elevator the cabinet passes. And then take into account many types of equipment in the cabinet to ensure that the cabinet is close to the power supply, cable jack, communication jack.
Check the opening angle of the cabinet door when opening and closing the cabinet. The standard cabinet door opens on the right while the door shaft is on the left, of course, we cannot rule out the opposite situation. All doors and side panels should be easy to open for maintenance.
When the user installs the equipment cabinet into an existing cabinet group, the cabinets can be arranged in a row so as to be safe and tidy. The best cabinet group model should be fully scalable and equipped with all the necessary hardware. You can remove the cabinet side panels and connect the cabinets in a row with screws.


