- Related articles
- Optical Transceivers for Cisco WS-C3650-48PQ-S Switch
- Basic Information of Intel Ethernet Card
- Optical Transceivers for Cisco WS-C2960S-48FPD-L Switch
- What is 10GBASE-SR transceiver?
- The Things You Need to Know about 1000BASE-LR Ethernet Standards
- What is 1000BASE T Transceiver?
- Optical Transceivers for Cisco SG300-10SFP-K9-EU Switch
- All Cisco DWDM-XENPAK-31.90's information (List price, Specs, Datasheet PDF, Compatibility
- What is 1000BASE Transceiver?
- How to Set up Network Card?

Introduction
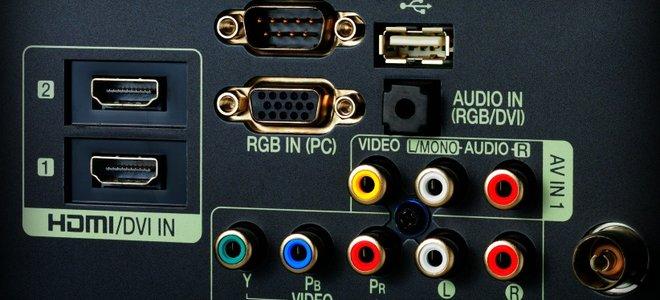
Fiber Optic Audio Cable is the type of fiber cable that is used to connect Fire TV stick or Amazon Fire box with the television. Consequently, Fiber Optic Audio Cable is used to connect other components of the TV and therefore, there is a great need to learn on how to effectively connect it. It is very simple to connect Fiber Optic Audio Cable with TV as outlined below.
Optical audio cables are a great option for any home theater or audio system. These cables use light to transmit the audio signals from the audio source to the receiver, and because of this, they are not affected by any electrical interference. This can be very useful if your electrical circuits aren’t properly grounded. Optical audio cables, also commonly referred to as Toslink cables, are especially recommended for old homes where there are more chances of electrical leaks due to the accumulation of moisture. Optical audio cables also provide far superior audio quality as compared to standard coaxial cables. However, these pieces of equipment are not the cheapest ones on the market, so there are a couple of things that you should keep in mind when connecting an optical audio cable to your receiver.
1. Select the Right Format
This is the most important step. If you are looking for high definition surround sound, you have three options to choose from: digital coaxial audio cables, optical audio cables, and high definition multimedia interface (HDMI) cables. Your choice will be primarily determined by what your equipment supports.
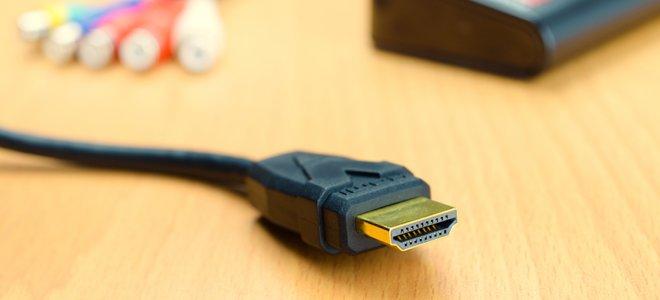
HDMI cables support both high definition audio and video and are the best choice if your equipment has HDMI slots. Most new television sets support the HDMI interface, and you can easily find high definition DVD players, game consoles, and media centers that support this format as well. If you are looking for crystal clear video and sound, then HDMI cables should be your first choice.
If you’re setting up only a home audio system or if your equipment does not support HDMI, then the best options for digital surround sound are digital coaxial cables and optical audio cables. The sound quality offered by both types of cords are nearly on par with one another, although both have their own pros and cons. Keep in mind that while almost all audio systems have connections for coaxial cables, optical audio connections are not that common.
2. Buy Cables That Fit
Optical audio cables come with different kinds of connectors. Although the square shaped connector is the most common one, you will also find round ones and other designs, depending on the brand of your equipment. When buying an optical audio cable, it is important to buy one that will fit on the optical audio slot in your audio transmitter and receiver.
3. Remove the Plastic Cap
All To slink cables have plastic caps covering the tips of the connectors. Even the optical audio slot on your equipment will probably be covered by a cap. Do remember to remove the cap before you try to connect the cords. Although it seems obvious, this is the single biggest mistake made by people who are new to optical audio cables. They are not aware of the presence of these caps and end up unable to fit the connectors into the proper slot.
4. Do Not Force It
With most square-shaped optical audio connectors, the male and female parts have to be aligned just right before they will fit. If the cable is not going in, do not force it or you will end up damaging the connector or the slot you’re fitting it into. Check to see that the male and female ends have lined up correctly and that the plastic caps have been removed; then you should have no problem.
Conclusion
Ensure you have followed all the steps outlined above for the proper connection of Fiber Optic Audio Cable to the TV. Otherwise, you will end up experiencing poor images or even the system not working.


